
In our first tutorial of how to use Git on a local machine, we have seen the basic operations of Git. Nevertheless, the main purpose of using Git is to store your repository online, and collaborate with others. In this tutorial we will show how to set up Github or Gitlab for your projects.
Tell git who you are
The first step is to let Git know you identity. For both Github and Gitlab this has to be done. Set up your Email and Name by:
git config --global user.name "Your Name"

git config --global user.email "Your Email"
You may use git config –list to see existing configurations at any time.
Authorize your computer for gitlab and github
Without authorization, anyone can put things into your account. Github and Gitlab use SSH to make a secure connection, so you need to give your computer a key to enter your account.
If you now think like “Uh, I need to see my public SSH key”, then you may skip to the end of this section to add the public key to your account. Otherwise, Gitlab and Github both have detailed tutorials on how to generate the SSH key. They are the same thing. Read them: Github tutorial and Gitlab tutorial. Once it is generated, copy the public key in ~/.ssh/id_rsa.pub and paste it into the key library in Github/Gitlab. They are both in the Settings menu.
Start using Github or Gitlab repositories
Option 1: Clone others’ Github repository
One way to start working is start with existing codes written by others and shared on Github/Gitlab. You will be using the identical copy of the codes in a repo as a start. This is called a clone.
It’s easy to clone a repo. First, find out the link for the repo, like below
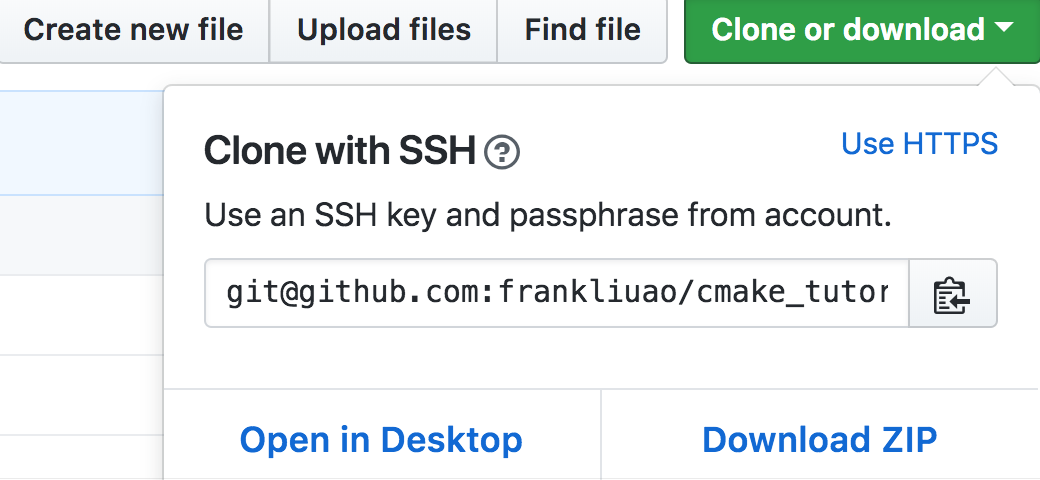
Copy the full link and do
git clone git@github.com:frankliuao/cmake_tutorial.git
(replace the link with yours). Notice that the full repo will be downloaded as a single folder, under your current directory. See the following screenshot as a demo:

Option 2: Start a new project online
Create an account using the email above. On both Gitlab and Github.
On Github, create a new repository:
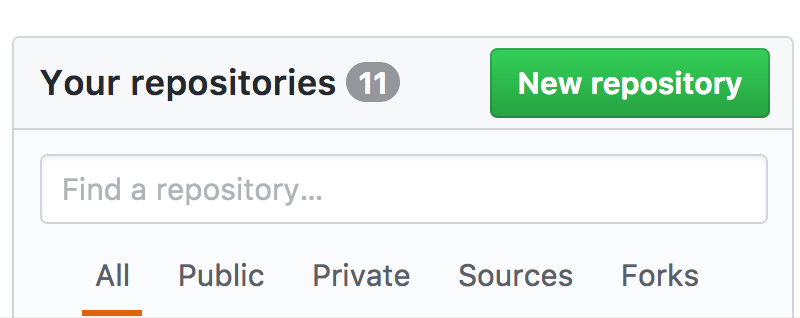
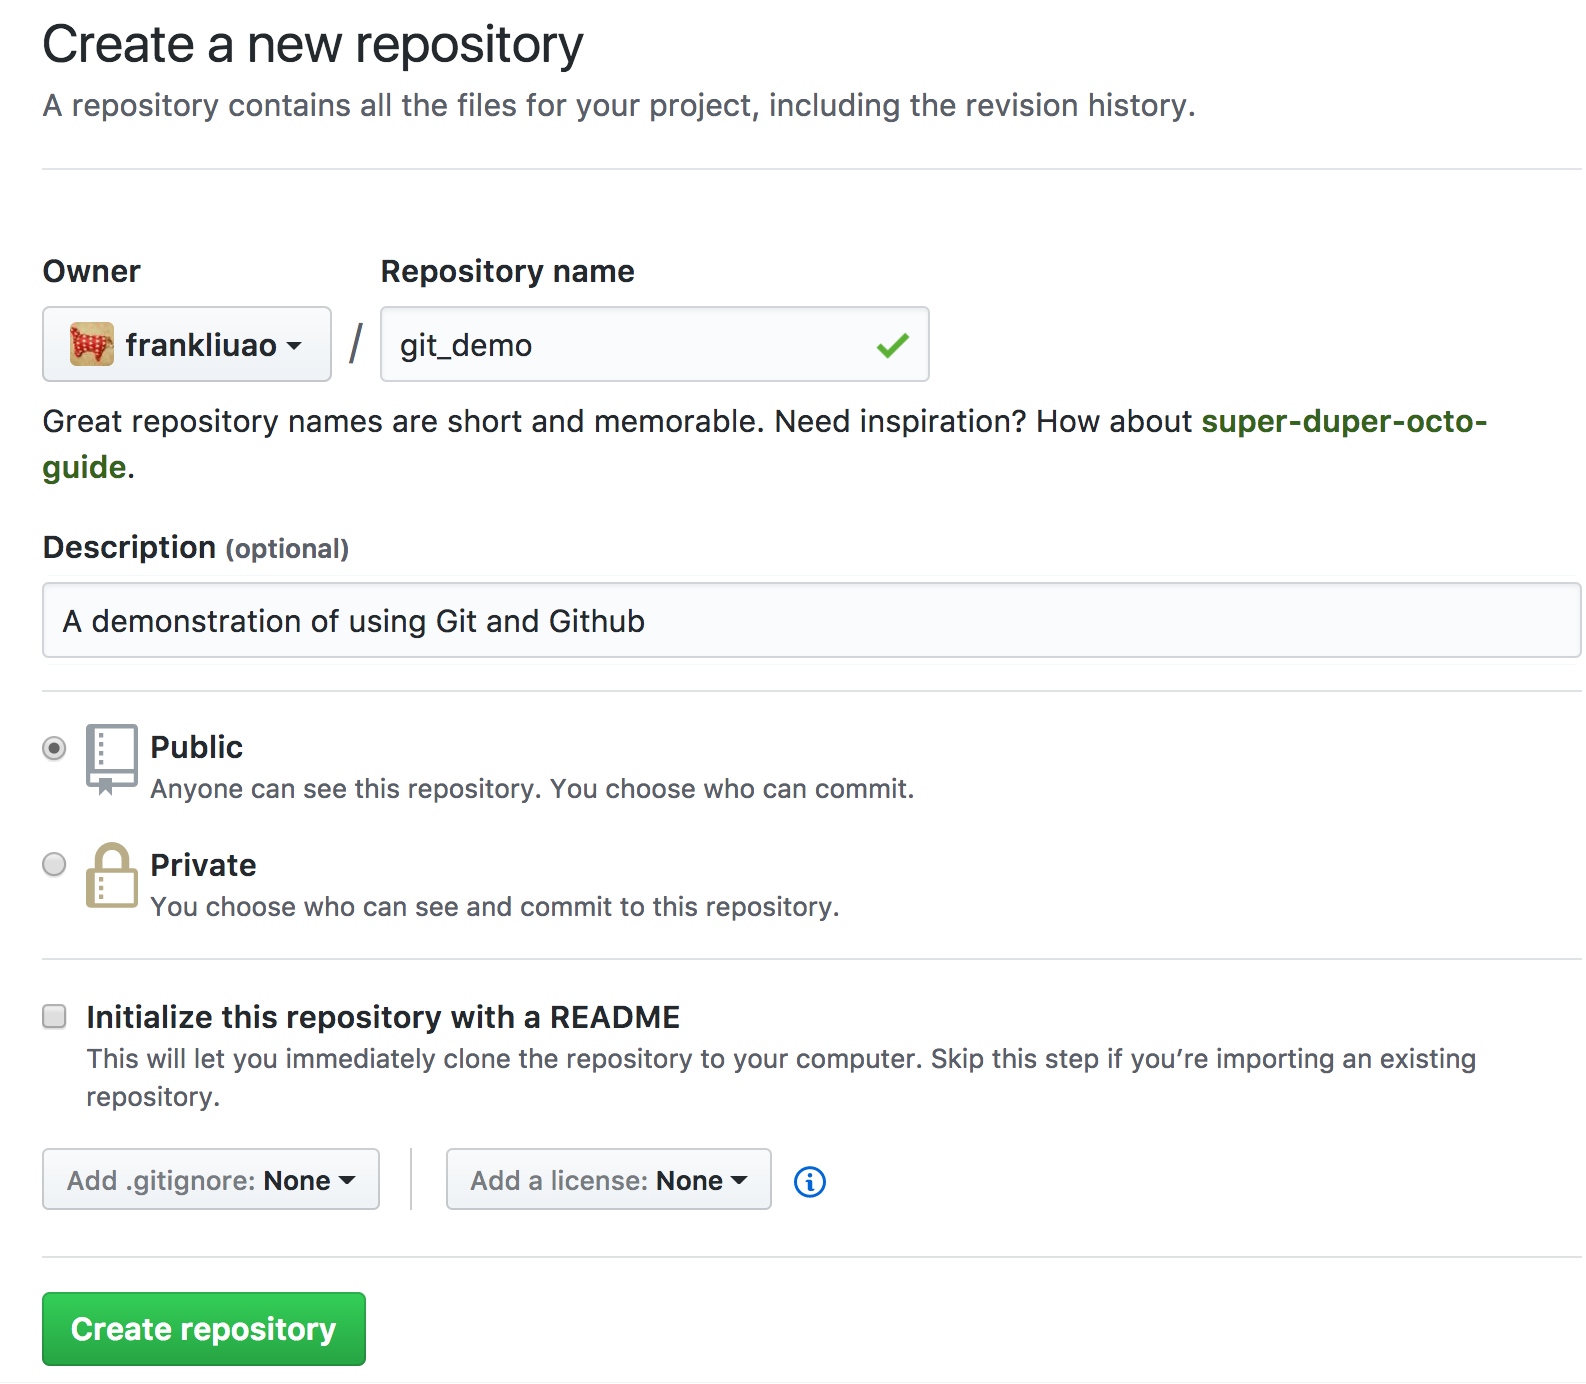
You will see this page, but don’t do anything yet, we’ll go over this.

On Gitlab, create a new project, it’s very similar, you can even import from Github:


Here you can already notice the difference:
On Github, the default visibility is “Public“, while on Gitlab, the default is “Private“. This is probably the biggest, if any, difference of the two. Github asks you to pay for a private repository, while Gitlab is totally free for any of the visibility levels. If you want to make your codes open-source and invite as many users as possible to work on them, then I recommend Github since it has more users.
Start Using the remote repository
I do prefer the instructions given by Gitlab after a new repository is created, than those on Github. There are basically two ways of using the online repository.
Think of the online repository as a branch. You do stuff on your own branch and you may merge from the remote branch. When you are ready you can also push your contributions (discussed later).
If you have an existing repository on your local computer:
You need to push it onto the remote server. The remote setting is controlled by the command git remote. In this case, you need to add a remote destination. Each remote repository has a reference, and the default reference name is origin. Therefore, for my Gitlab repository I’ll do
git remote add origin git@gitlab.com:frankliuao/git_demo.git
Now the reference origin is taken by Gitlab, so you can’t use the same for Github anymore. I’ll use another_origin:
git remote add another_origin git@github.com:frankliuao/git_demo.git
You can check the remote settings by using git remote show [remote_ref_name]. The remote_ref_name is optional: if not provided all remote reference names will be shown:

Now you can push the same local repository to either remote server using
git push -u origin master
where -u is short for “upstream”, which sets the reference name origin. Following the reference name, a head (refer to the 1st tutorial) name is needed, and the default name is master. After this command, the HEAD of your Gitlab repository is now master with all the commits from your local repository preserved. It has to be called master, since it’s the default head name when you created the online repository:

You should be able to see files in your online repositories now.
If you do not have an existing repository on your computer:
In many cases you may just want to finish what others have already started. Under that circumstance, it is called “clone” the remote repository:
git clone THE-REMOTE-REPOSITORY-LINK
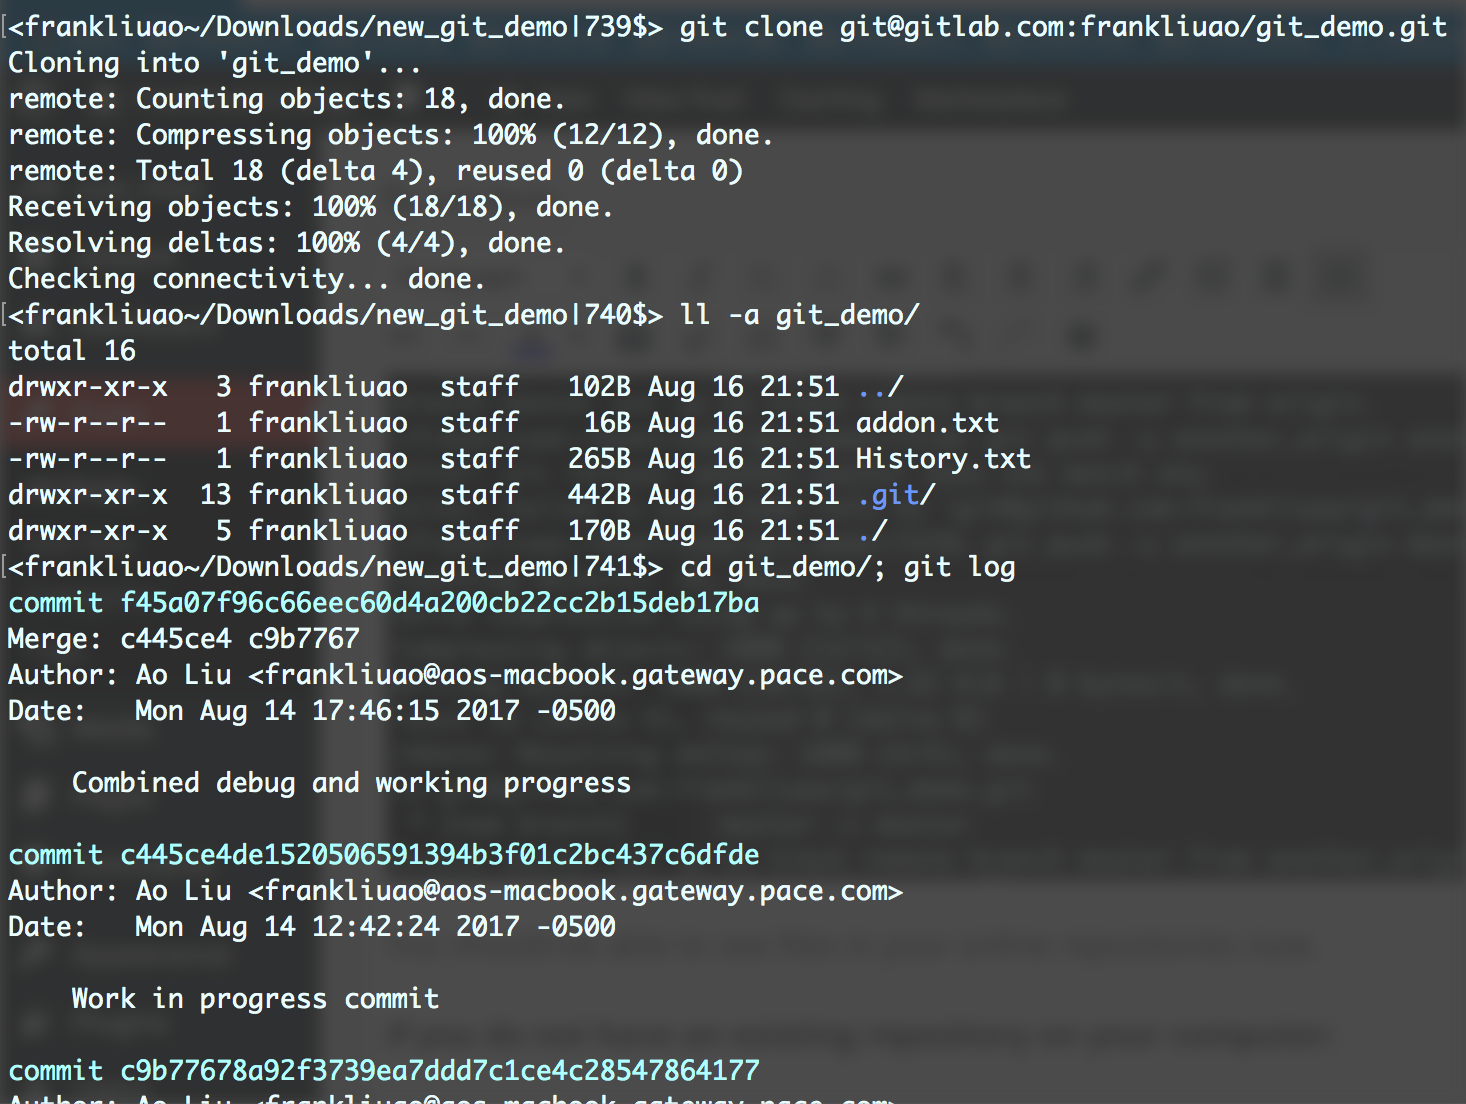
As shown, clone creates a new directory in the current folder where the command is executed. That’s why I used a new directory ~/Download/new_git_demo/ to demonstrate it. If I executed the same command in ~/Download/, it wouldn’t have worked – the ~/Download/git_demo/ already exists!
To visualize the clone, we show two examples: Upper one is a simple case where the online repository does not have branches, while the lower one has two branches and the local repository also has two branches but are marked by the origin/ to clarify. If you want to work with that branch, you need to add the branch locally by git branch –track work_progress origin/work_progress.

Keep updated with the remote repository
Let’s still use the second case (with remote branch) above as an example. After it is cloned, the remote repository has some new commits. To get updated, it’s not called clone any more. Instead, it’s called “fetch“, or “pull“. There are some differences.
fetch:
You only need a remote repository reference to do fetch. In our last case it can be just
git fetch origin
Consider our last example, the local repository will become (upper is the new remote repo):

You own heads are not affected (if you set up a branch locally named “work_progress” it will be still at a). The remote_reference/head are updated to match the remote status.
pull:
On the other hand, if you want to update your HEAD to a remote head, you need to do a git pull remote_repo_reference remote_head, so in our case it can be
git pull origin master
Git will first do a fetch for you then change your HEAD to the corresponding head. As for our example it can be visualized by

Notice: if your local repository has new commits and they do not have conflicts with the online repo, then it’s basically a merge – your local files will be updated to reflect the change. If there is a conflict, solve it using the way that was shown in the merge section, then do a new commit.
Contribute to the remote repository
Now suppose an opposite situation of the above: you made some commits but the remote didn’t. You want to contribute. Opposite of “pull“, this is a “push” situation. The command is git push remote_repo_reference remote_head_name. For our case it is
git push origin master
This pushes your current HEAD to the origin/master on the remote repository. As for your local repository the origin/master will also be changed to whatever you just committed. The remote_repo_reference and remote_head_name are optional, but specifying them will be safer and not specifying them will push every branch of your local repository to the remote.
Be sure not to leave any dangling commits when doing the push. If you have a branch (not master) that is not in the remote repository, this will cause some trouble, since it will become a dangling commit. For example, the “another” branch below becomes a dangling branch after being pushed to the remote server, so it’s not recommended:

Change remote branch
You may add a branch on the remote (assuming reference name is origin) by first checking out your local branch, and then doing
git push -u origin branch_name
You may delete a remote branch by
git push origin --delete <branch_name>